
This tutorial is meant to extend the one I wrote about building your own custom Ghost theme. In that post I went over the basic template files that all Ghost themes are made of: default.hbs, index.hbs, and post.hbs. In this post we will create a custom 'About Us' page template that we can link to using [myghostblog.com]/about. It's really pretty straight forward. Let's get started!
Getting Started
First, create a new template file in the root of your Ghost theme's template directory. The name of this file will depend on the desired URL of your custom page. In this case, I want to create an 'About Us' page that uses the following url: [myghostblog.com]/about. So, I need to name the template file page-about.hbs.
All custom Ghost pages must begin with page- followed by the desired page url path.
Bootstrapping the Custom Page Template
The easiest way to bootstrap your custom page template is to copy the code from your page.hbs file and paste it into your new template file.
***Quick side note:** You can create a static page for your Ghost blog without having a `page.hbs` template file. Just login to your Ghost blog admin, create a new post and click 'Turn this post into a static page' in the Post Settings. It will use your `post.hbs` template for layout but the page will not display in the post list (`{{> "loop"}}`) with the rest of your blog articles.*
All you need to do to finish your custom page template is to add or remove what is necessary to make it different from the default page template.
Linking to Your Custom Page
Once you have finished developing the layout of your custom page file, upload your updated theme folder to wherever you are hosting your Ghost blog.
IMPORTANT: To make your custom page work, you must add a new post in the Content area of your Ghost blog admin and set it as a static page. The page url should match whatever follows page- of your custom page template file. In this case the url should be /about. Confirm or update you page url by modifying your Post Settings. Finally, publish your page!
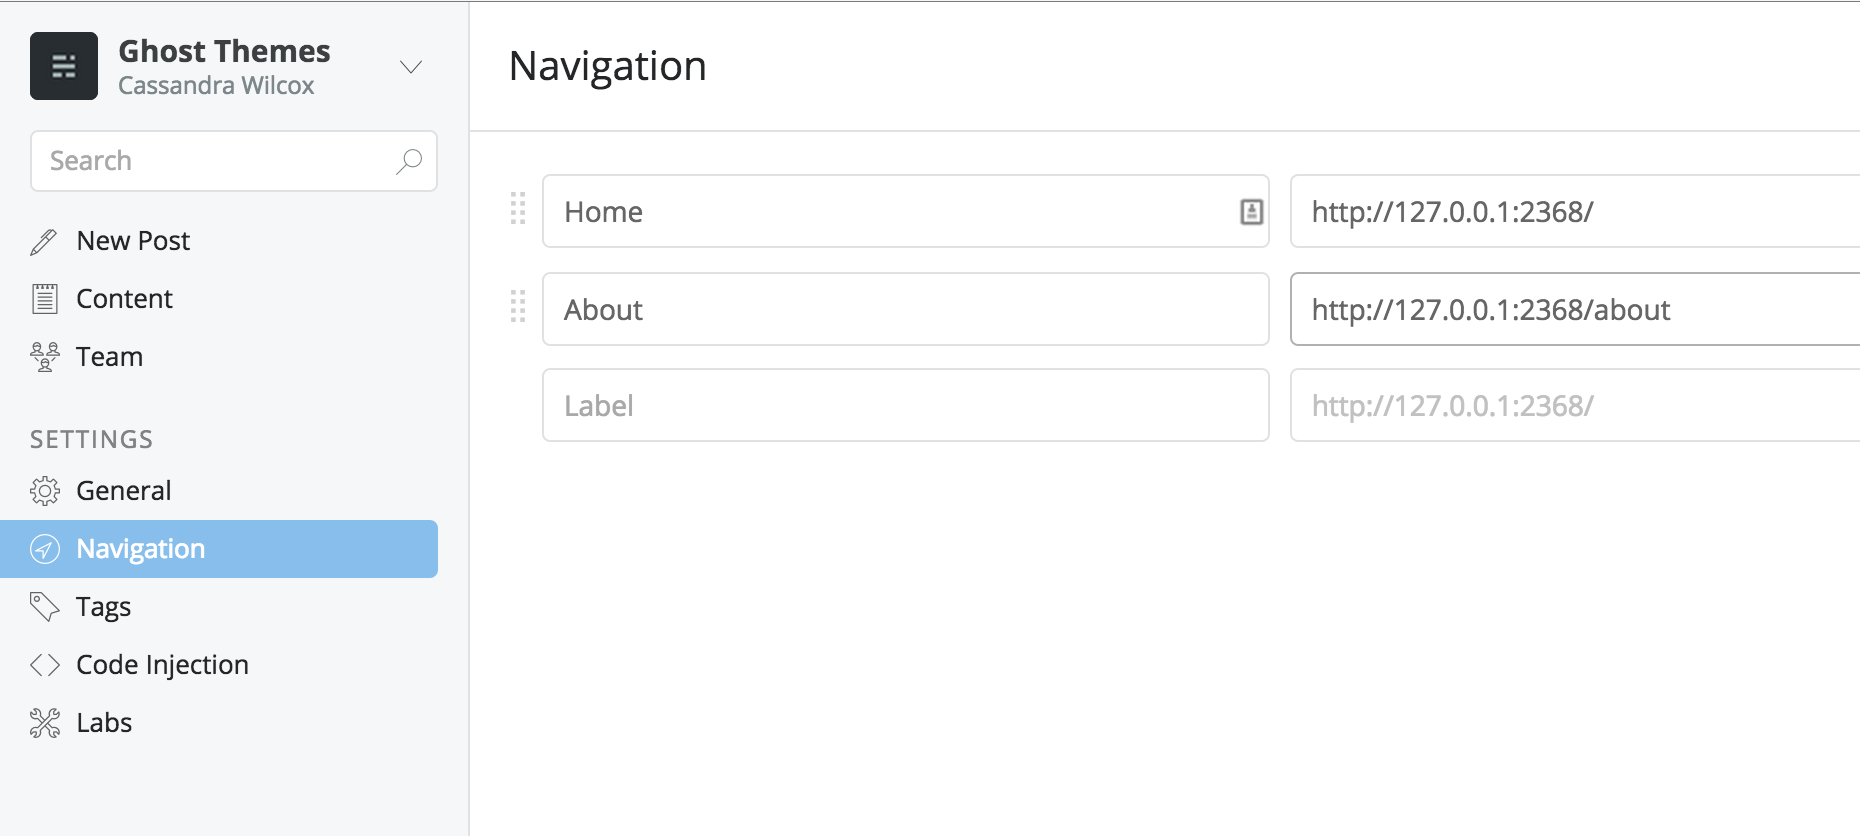
If you want this page to appear in the main navigation of your site, just add it to the Navigation list in your blog settings.
Alrighty! Well, that's it. Pretty simple, huh? I hope this tutorial helps you make more out of your custom Ghost themes!
If you enjoyed this tutorial or have any questions, please leave a comment below! I'd love to hear about your experience developing custom Ghost themes!
About Author: Cassandra Wilcox

Cassandra Wilcox is a full-stack JavaScript developer, Cofounder at Code Hangar Inc., Instructor at Girls Who Code, JavaScript Instructor at Skillcrush, and Organizer of Orlando LadyDevs